Showing posts with label Breakfast. Show all posts

Friday, July 12, 2013

Maple Glazed Oatmeal-Pecan Scones


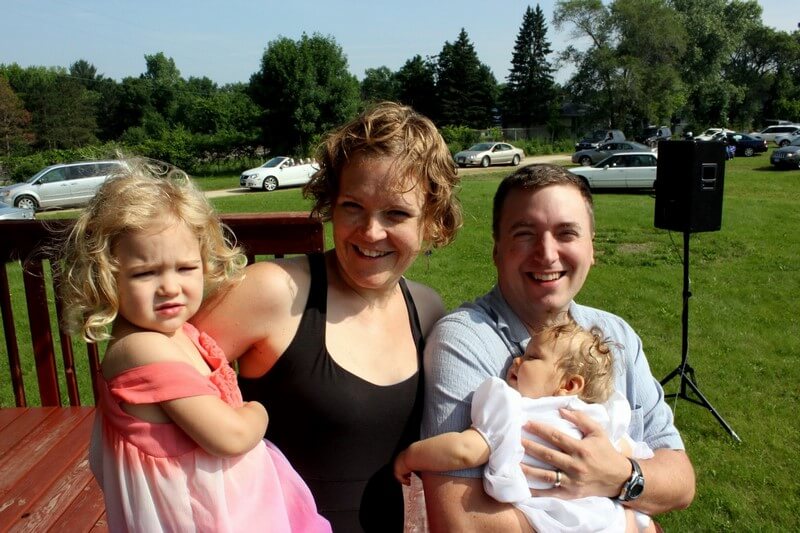
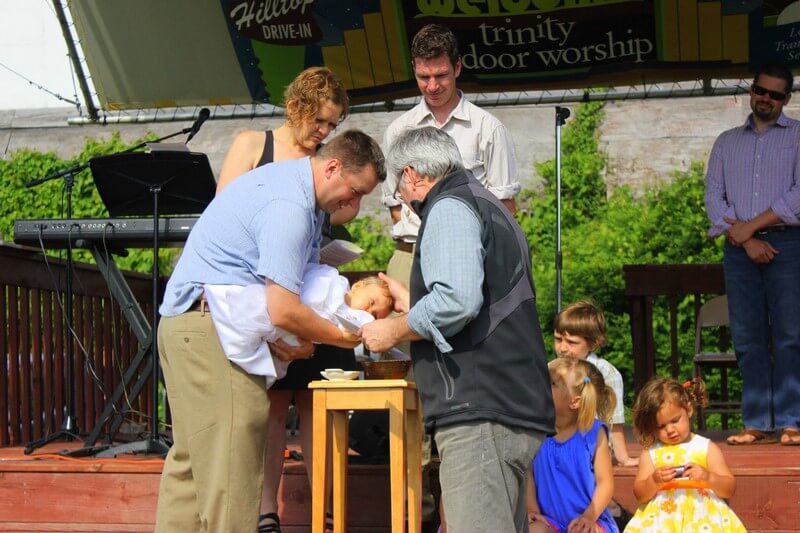
Better late than never, we got our Claire Bear baptized the last weekend in June.

At the drive-in movie theater.  Uh huh.

I'll fess up, it is no longer a drive-in movie theater, but a former one that our church has transformed into the funkiest, coolest, most eclectic Sunday morning worship locale around.


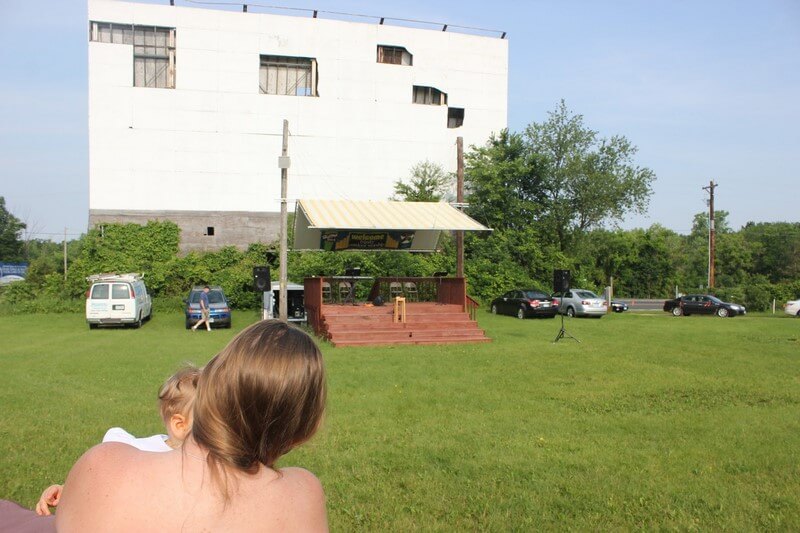
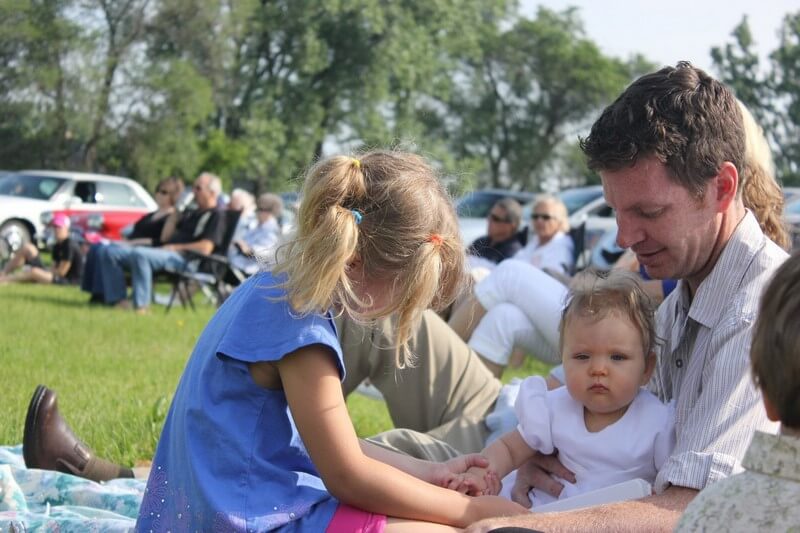
It may sound like an odd place for church, but oh, can you feel God's presence in so many ways...


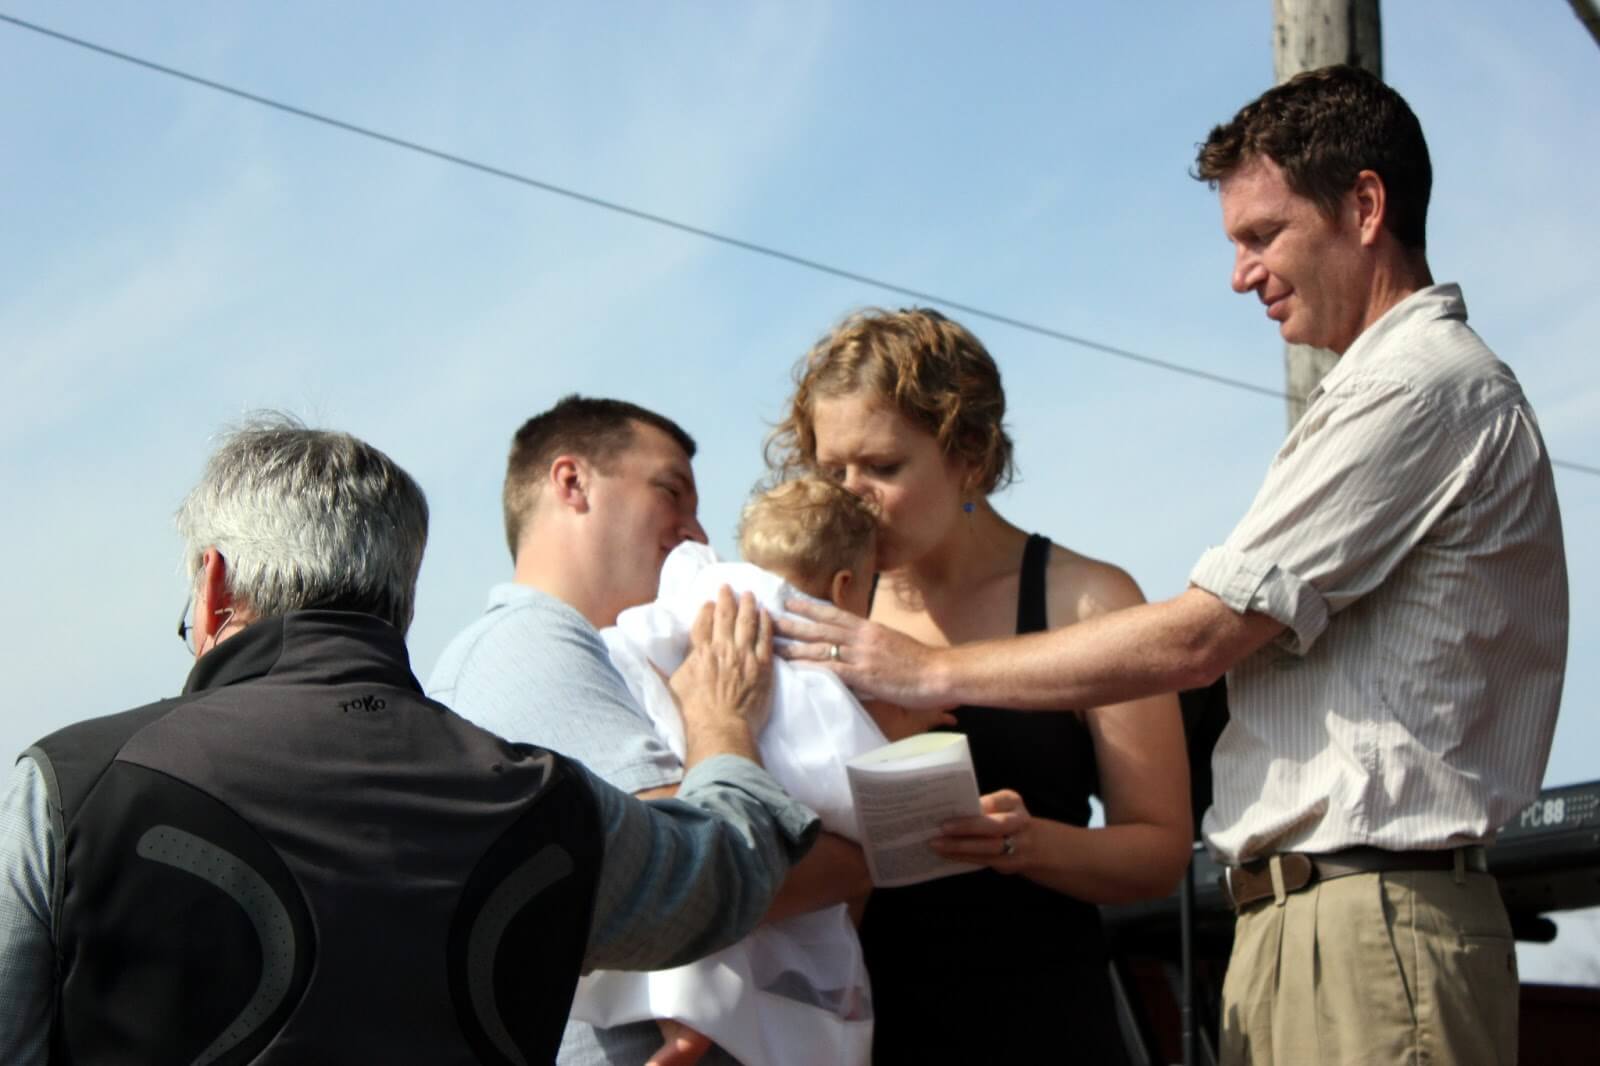
And truly, how many people can actually say that they were baptized at a drive-in movie theater?  Well, at least one...our little Bear.


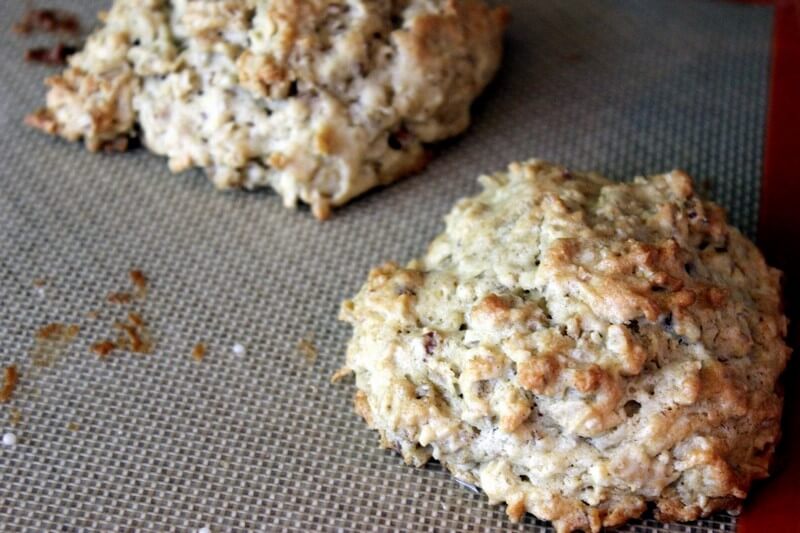
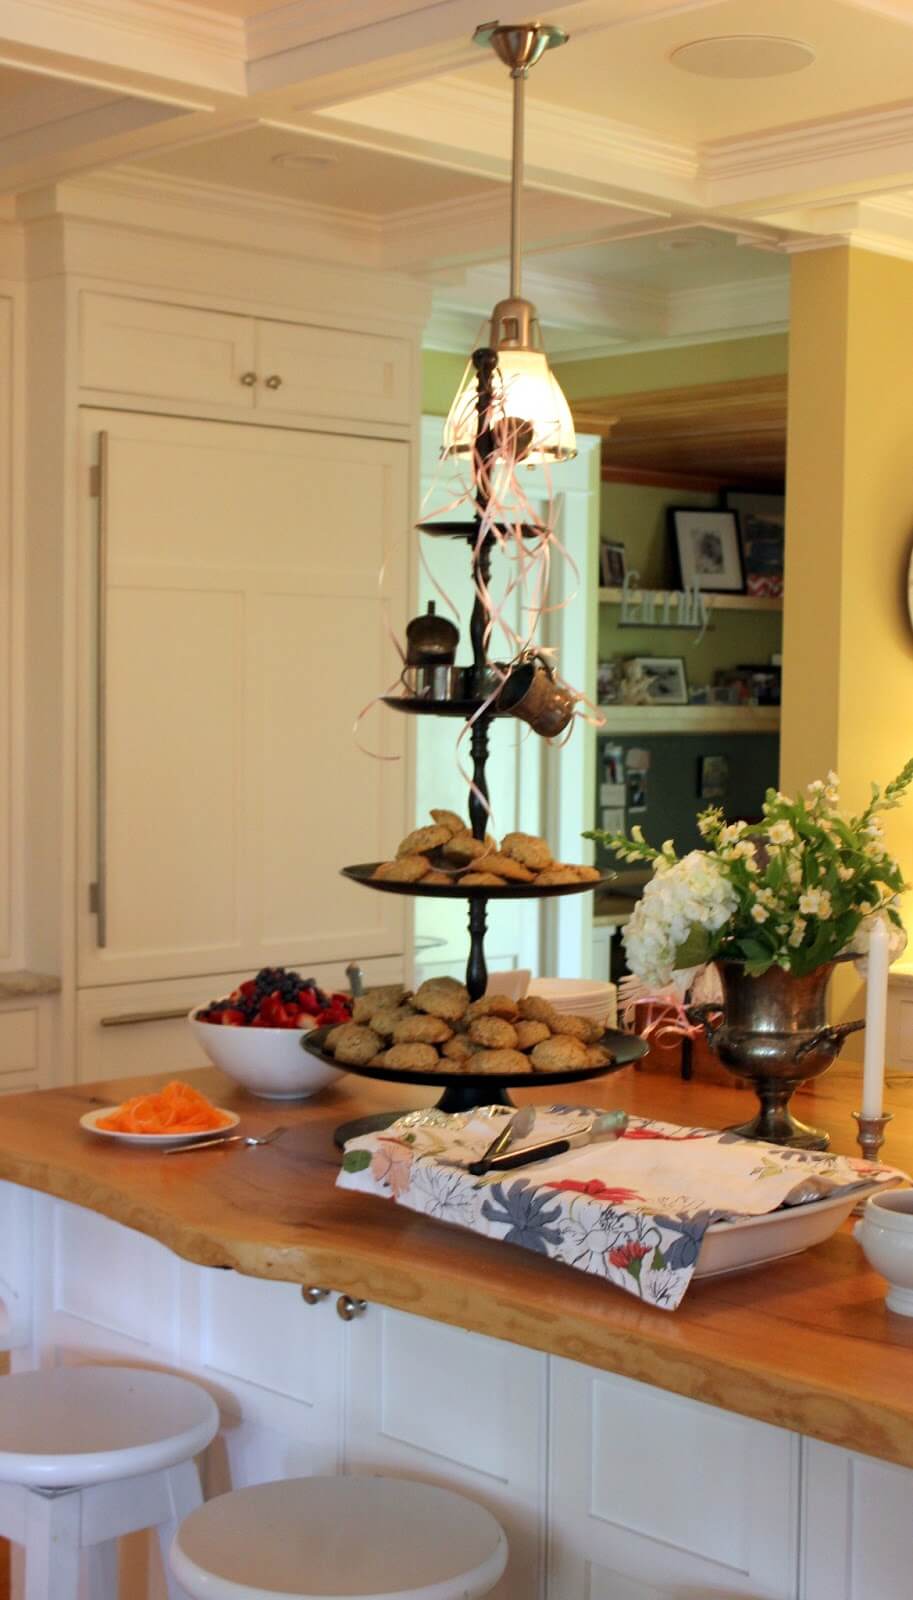
After the service we headed to my parents home for a brunch.  I made scones.  60 of them to be exact.  Scones loaded with pecans, oatmeal, cranberries and maple syrup.  They were divine. These scones were the right amount of moist so that they weren't dry and crumbly like a lot of scones, but not so moist they were muffiny.  I might go so far as to say these are my favorite scone of all-time.  They were darn good, and the perfect way to celebrate our Claire.


Maple Glazed Oatmeal-Pecan Scones
Adapted from flour

Makes approximately 10 scones

Scones:
1 1/2 cups (210 g) all-purpose flour
1 1/4 cups (125 g) old-fashioned rolled oats
1 1/2 teaspoons baking powder
1/4 teaspoon baking soda
1/4 teaspoon kosher salt
1/2 cup (50 g) pecans, toasted and roughly chopped
1/2 cup (80 g) dried cranberries
1/2 cup (1 stick) cold unsalted butter, cut into 8 pieces
1/3 cup (80 g) cold cream
1/2 cup (160 g) pure maple syrup (don't even think about using the fake stuff, gross)
1 cold egg

Maple Glaze:
1 cup (140 grams) powdered sugar
3 tablespoons maple syrup
1-2 tablespoons water

Heat the oven to 350F degrees.  Line a baking sheet with parchment paper or a non-stick mat.

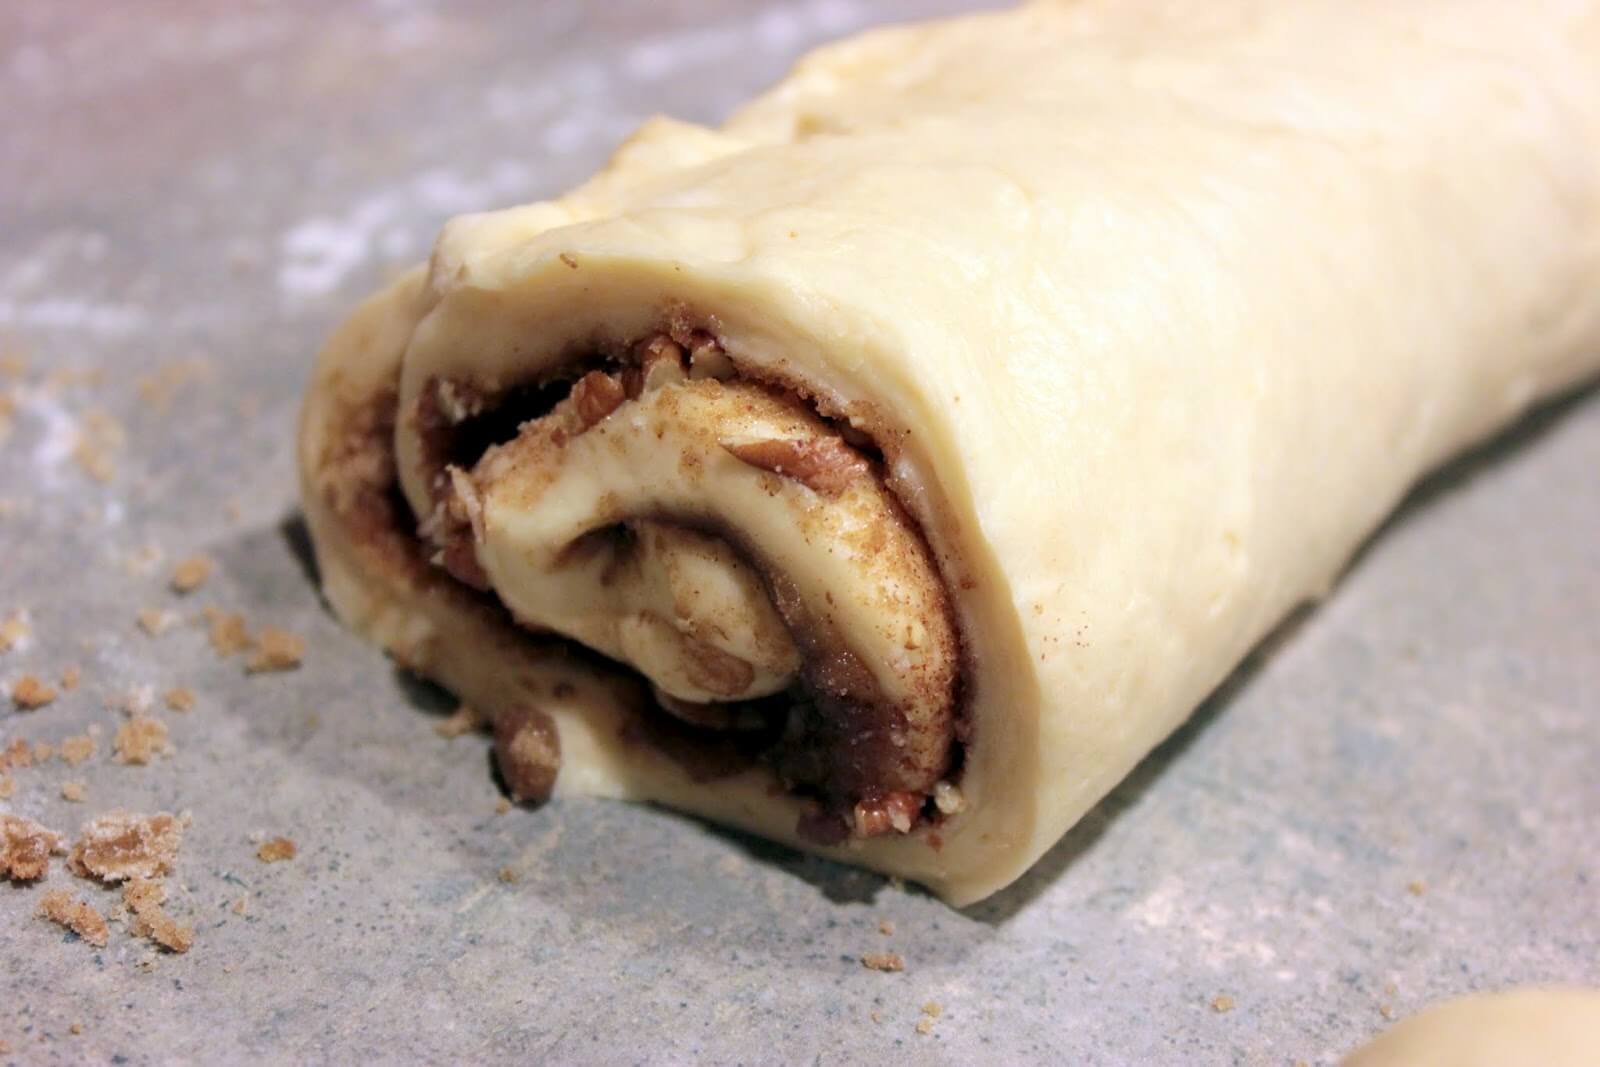
Using a stand mixer fitted with the paddle, mix together on low speed the flour, oats, baking powder, baking soda, salt, pecans and cranberries for 15 seconds or until well combined.  Scatter the butter on top of the flour mixture and beat on low speed for 30 seconds or until the butter is slightly broken down and grape-sized pieces are still visible.

In a small bowl, whisk together the cream, maple syrup and egg until thoroughly combined.  On low speed, pour the cream mixture into the flour mixture and beat for 20-30 seconds or until the dough just comes together.  The dough will still be fairly wet.  

Remove the bowl from the mixer and using a rubber spatula, scrape down the sides and bottom to ensure all the ingredients are mixed into the dough.  Using a 1/4 cup measuring cup, drop mounds of dough onto the prepared baking sheet, approximately 2 inches apart.

Bake for 20-25 minutes, or until the scones are golden brown.  Transfer to a wire rack to cool for at least 30 minutes.  

While the scones are cooling, make the maple glaze.  In a small bowl, whisk together the powdered sugar, maple syrup and enough of the water to make a smooth and pourable glaze.  (The glaze can be made a week ahead of time and stored in an air-tight container at room temperature.)  Once the scones have cooled for 30 minutes, brush the tops evenly with the maple glaze and then...

EAT IT!!


Saturday, May 5, 2012

Pecan and Cinnamon Rolls


I am something of a pecan fanatic.  I love them with a fervor not given to other nuts.  I do like other nuts, but I adore pecans.  They make me gush with foodie love, especially when inserted into an ooey-gooey caramely breakfast roll.  I could plunge head first into this plate of pecan rolls and eat them all up - oh wait, that actually happened.  Oops.  Don't tell anyone, ok? 

These rolls made an appearance in our kitchen after I picked up my darling Tassajara Bread Book to find something fun to make for breakfast last weekend.  Just before I started scattering nuts to and fro on the dough, I remembered that Anna can't eat nuts yet.  So, I made a quick decision and divided the dough in half (okay to be fair, maybe it was more of a 25/75 split) and made the other part into cinnamon rolls.  Phew, good save Momma!  I never would have forgiven myself for stuffing my face with pecan rolls while Anna watched empty handed.


These buns also gave me a really cheesy way to share some really exciting news with you all.  I promised you last week that I was going to fill you in on why my blog has been mostly silent for the past month.  So, here goes...I've got a bun in the oven...figuratively and literally!  Damn I'm funny.  I think the morning sickness has completely subsided now (obviously, or I probably wouldn't have been able to even look at these buns) and I am back in kitchen action!  Hooray! 

Our newest addition is due on November 18th and we are thrilled beyond belief that Anna is going to be a big sister.  And such a great big sister she will be.  She's become mildly obsessed with babies lately, which may be a coincidence, or else the fact that we talk about babies mildly obsessively lately. 


Our family is growing, and this Momma is gushing with love and excitement.  It will be a big change, but can it really be a bigger change than going from zero to one?  Umm...don't answer that. Let me live in ignorant bliss for just a few more months, ok?


So, back to the rolls.  Unless you are a very early riser, I'd recommend making these rolls in their entirety the night before and giving them their final rise in the refrigerator overnight.  This recipe calls for three rises, which calls for lots of time, which I don't have in the morning (unless we eat breakfast at 1pm).  I took them out of the refrigerator about a 45 minutes prior to baking to bring them to room temperature.  This whole process worked out beautifully, and my family was rewarded with a stunningly delicious breakfast and full happy tummies. 


Pecan and/or Cinnamon Rolls
Adapted from Tassajara Bread Book

Makes approx 10 rolls

Dough:
1 cup warm water
1 tablespoon plus 1/2 teaspoon active dry yeast
3 tablespoons sugar
1/3 cup dry milk powder
1 egg
3 cups all-purpose flour 
3 tablespoons melted butter or canola oil
1 1/4 teaspoons kosher salt

Filling:
for both cinnamon and pecan rolls:
1/4 cup melted butter
1/3 cup brown sugar, packed
1 tablespoon cinnamon

additional ingredients for pecan rolls:
1 cup pecans, chopped
6 tablespoons butter, cut into small pieces
1/2 cup brown sugar, packed

Glaze for Cinnamon Rolls:
1 cup powdered sugar
1/4 cup milk or cream

To make the dough: dissolve the yeast and sugar in the warm water and allow to sit for 5-10 minutes or until foamy.  Stir in dry milk and egg to combine.  Add 1 1/2 cups flour, forming a thick batter and then stir for about 30 seconds.  Allow to rise for 30 minutes.

Fold in the butter or oil and salt.  Add one cup flour and mix using a stand mixer fitted with the dough hook, or a stir with stiff wooden spoon, until the dough pulls away from the sides of the bowl.  Knead in a stand mixer or with your hands, adding additional flour as necessary until the dough is smooth and elastic.  Allow to rise for 40 minutes. 

Preheat oven to 375F.

On a floured surface, roll the dough into a 10" x 15" rectangle.  Brush the melted butter on the dough, covering the entire surface.  Sprinkle brown sugar and cinnamon evenly across the dough.  If making pecan rolls, distribute 1/2 cup chopped pecans across the dough. 

Starting at the long edge closest to you, roll the dough away from you into a tight log.  Cut the dough log crosswise into 3/4" thick rounds.

For Cinnamon Rolls:
Place the rolls on a greased baking sheet about 2" apart.  Bake for 20-25 minutes or until golden brown.

Meanwhile make the powdered sugar glaze by stirring powdered sugar and milk together.  While the rolls are still warm, brush with the powdered sugar glaze.  Serve warm.

For Pecan Rolls:
Using two 8" square cake pans, dot the bottom of each pan with 3 tablespoons of butter and sprinkle with 1/4 cup brown sugar.  Sprinkle remaining 1/2 cup pecans over the butter and sugar.  Place the rolls in the pans, so they are snug against each other (this will the allow the rolls to rise up rather than out).  Bake for 20-25 minutes or until golden brown.

Turn the rolls upside down onto a serving platter, making sure to spoon any remaining caramel topping from the bottom of the pan onto the rolls.  Put the platter on the table and pull them apart, throw one (or two!) on your plate and then...

Eat it!!!

Sunday, January 8, 2012

Squashy White Chocolate Scones


I'll tell you a secret.  I love to bake (that's not the secret).  I have always been mortified to try baking anything without a recipe (that is the secret...sorry its not juicier).  It has been said that Baking is a Science, and I suck at science, so I have always stuck to the good old tried and trues.  Until I got brave over the holidays.


These scones were born from a leftover baked squash I had sitting in my fridge.  I couldn't bear to throw it out, because it was so beautiful.  And because the meal I used most of it in was mediocre, at best.  This squash deserved to star in something yummy and delightful.


I used my blueberry scone recipe as a base.  So, while I cannot wholly own this recipe as mine, it is a big step for me to stray at all.  I experimented to come up with the perfect mix of flour, squash, spices and chocolate for these scones.  I've made the scones with both squash  and pumpkin puree and they were equally delicious. 

The scones turned out moist and light and fluffy, which was delightful as scones are often exactly the opposite.  I may just bake extra squash from now on as an excuse to make these scones. 


Squashy White Chocolate Scones

1 3/4 cups (245 grams) all-purpose flour
2 tbsp sugar
2 1/4 tsp baking powder
1/4 tsp baking soda
1/2 tsp salt
1 tsp pumpkin pie spice
6 tbsp unsalted butter
1 large egg yolk
1/4 cup + 2 tbsp buttermilk
1/2 cup(120 grams)  squash puree
1/3 cup white chocolate chips
Turbinado sugar, for sprinkling


Preheat oven to 425.

Whisk flour, sugar, baking powder, baking soda, salt and pumpkin pie spice together in a large bowl. Cut in the butter until mixture resembles coarse meal. You can use a pastry cutter for this or use two knives and cut into the butter using a cross-way motion until crumbly.

In another bowl, combine the egg yolk, buttermilk and squash puree and gently beat. Add to the flour mixture all at once. Work quickly and use a wooden spoon or your hands to work the mixture into a soft dough. Gently knead in white chocolate chips.

Turn the dough onto a lightly floured surface and pat into a disc shape about 3/4" thick. Sprinkle turbinado sugar on the top and then use a butter knife or pizza cutter to cut into 6 wedges.

Place on a baking sheet lined with parchment paper and bake for 12-15 minutes or until they are golden brown on top and...

Eat it!!

Friday, September 23, 2011

Blueberry Scones


I took an amazing 6-week class in the kitchen of Posh Chocolate with owners Ana & Jason Willenbrock this past May.  This class focused on baking and pastries but ended with a bang when we learned about chocolate...tempering, making ganache, making truffles.  Mmm...anyway, I digress as this post is about blueberry scones and not chocolate (get your head out of the gutter Maggie!).  We'll leave the chocolate making for another day.

Ana & Jason both studied at the Harvard of cooking schools, The Culinary Institute of America (CIA), in New York City.  These two are amazing, they know their stuff (maybe because of their time at CIA, but mostly because of their devotion to the profession) and they are the funniest, happiest, rockin-est people I know that own an upscale chocolate shop.  But anyway, that's all to say: I learned a lot from them. 

I adapted this recipe from one we baked in class, and this has been my go-to breakfast when company comes ever since.  These scones are super easy to make, I can bang them out in about 10 minutes, and they are super versatile.  I've made blueberry, raspberry white chocolate, chocolate & cinnamon, chocolate & nutmeg, and chocolate & orange zest.  I have learned that using frozen fruit works much better than fresh.  The fresh fruit tends to get smooshed too much and it doesn't look pretty.  Not to fret though if you have fresh raspberries on hand screaming at you to be thrown into these scones.  Just stick them in the freezer for 15 minutes before you add them to the dough and they'll be good to go.

The most important thing I learned about making scones during this class is to keep the butter cold and don't overwork it.  See, butter is what makes the flaky layers in scones. If you overwork the butter or get it too warn and melt it, you will get a dense ucky yucky so-so pastry, rather than this flaky goodness:


The key to not overworking the dough and compromising your butter is to use a pastry blender.  Alternately, you can use two butter knives or a fork to cut the butter in too...all these fancy schmancy tools aren't a must; they just make things a tad easier and give me an excuse to buy yet another kitchen gadget. 


Another fancy little trick I learned from Ana is to pat the dough out and not roll it.  Like so:


Pat pat pat..

Its all about that pesky butter, and patting keeps the butter in good baking form to create those luscious layers.  Mmm...

Finally, consider parchment paper your new BFF.  Parchment paper knows how to work its stuff.  Or at least keep anything and everything from sticking to your pan and your food.  Parchment paper was originally made by God himself to reduce the frustrations of bakers everywhere.  Pick some up, you won't regret it.

That white stuff under the scones is parchment paper. 
It looks like regular paper, but its actually magic paper.

Blueberry Scones

Ingredients:

1 1/2 cups all-purpose flour
2 tbsp sugar
2 1/4 tsp baking powder
1/4 tsp baking soda
1/2 tsp salt
6 tbsp unsalted butter, very cold
1 large egg yolk
1/4 cup + 2 tbsp buttermilk
1/2 cup frozen blueberries (or other ingredient of choice)
Turbinado sugar, for sprinkling

Directions:

Preheat oven to 425.

Whisk flour, sugar, baking powder, baking soda and salt together in a large bowl.  Cut in the butter until mixture resembles coarse meal.  You can use a pastry cutter for this or use two knives and cut into the butter using a cross-way motion until crumbly.

In another bowl, combine the egg yolk and buttermilk and gently beat.  Add to the flour mixture all at once.  Work quickly and use a wooden spoon or your hands to work the mixture into a soft dough.  Gently knead in blueberries.

Turn the dough onto a lightly floured surface and pat into a disc shape about 3/4" thick.  Sprinkle turbinado on the top and then use a butter knife or pizza cutter to cut into 6 wedges.

Place on a baking sheet lined with parchment paper and bake for 12-15 minutes or until they are golden brown on top.

Eat them while they're hot! 

These also freeze well, so make a double batch to enjoy later.